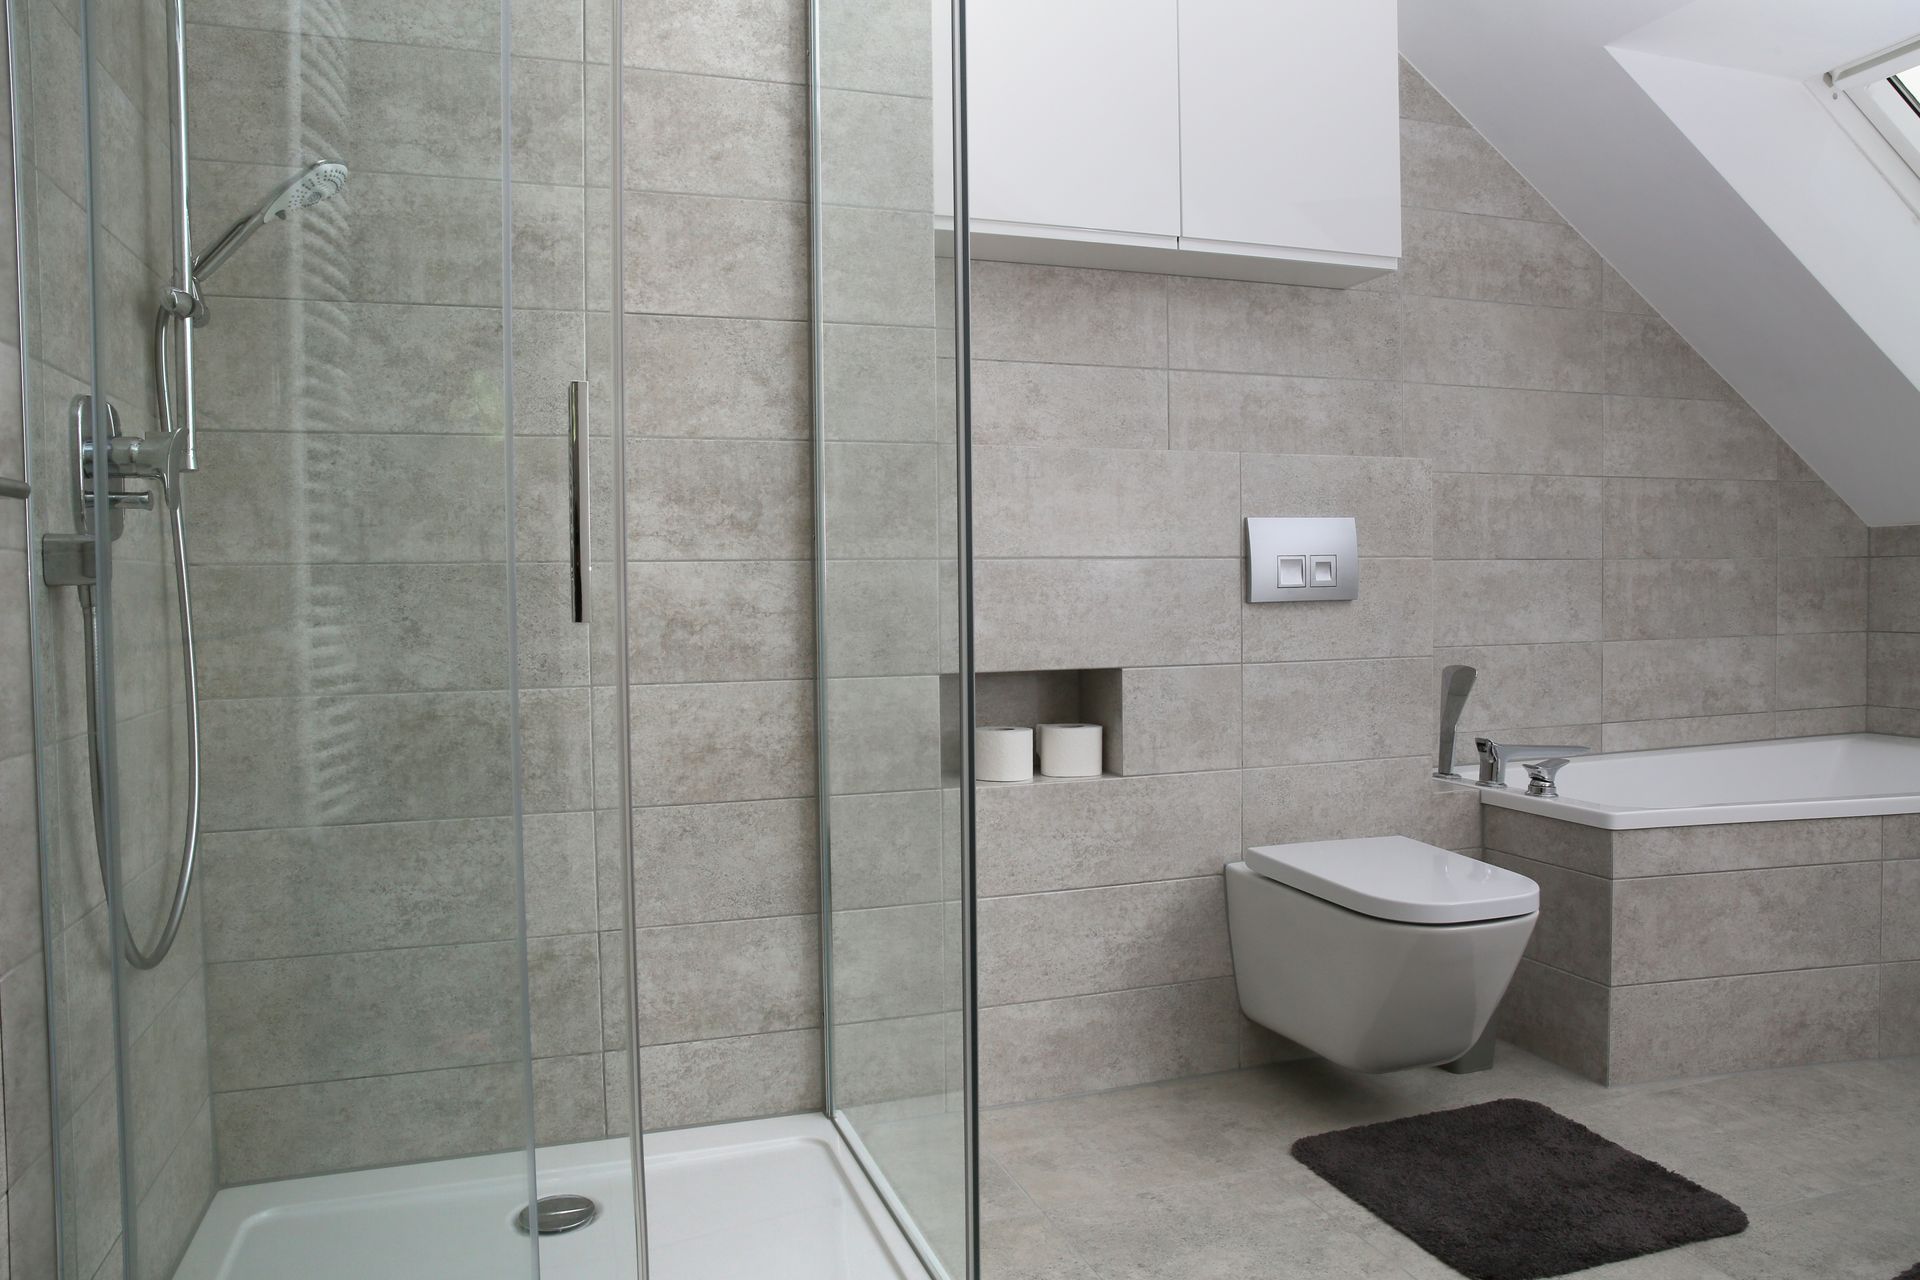

Tile That Holds Without Cracking or Shifting
Ceramic and shower tile installation in Raleigh for worn tub surrounds and entry floors needing replacement
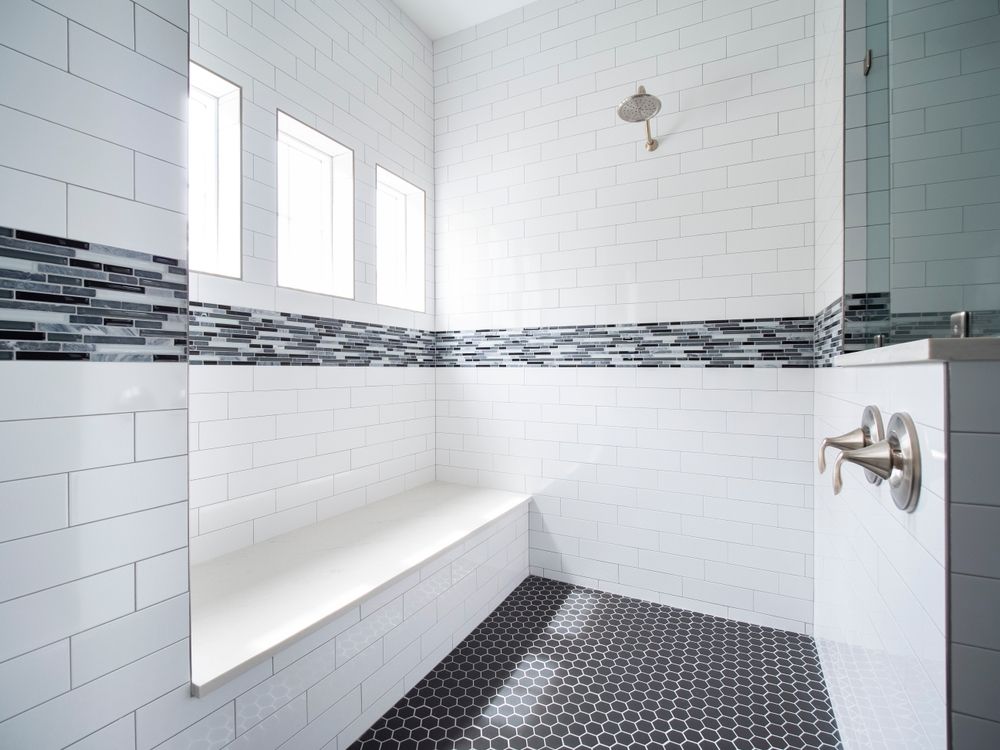
What a finished tile installation produces is straightforward to evaluate: grout lines are uniform, no tiles rock when pressed, and the surface at the shower pan sits fully sealed against water intrusion. Getting there requires decisions that happen before any tile is set, and that is where most failures originate. 99 Service Solutions installs ceramic tile, shower enclosures, and
wall and floor tile in Raleigh using its own crew rather than routing the work to a separate subcontractor, which means the same people who assess the substrate and apply the waterproofing are the ones setting tile and sealing grout.
In older Raleigh-area subdivisions, the original tub surrounds were typically installed over drywall rather than cement board, and the vinyl on entry floors was adhered directly to the slab or a single layer of underlayment. When those surfaces wear out, the replacement process starts with a substrate check—confirming the floor is flat within the tolerance required for the chosen tile size, and verifying the shower walls are solid enough to hold tile weight without flex. In a shower, waterproofing the pan and lower walls comes before the first tile goes up, not after.
Schedule a substrate review with 99 Service Solutions before finalizing your tile selection, so the preparation scope can be confirmed alongside the installation.
What Proper Tile Installation Requires
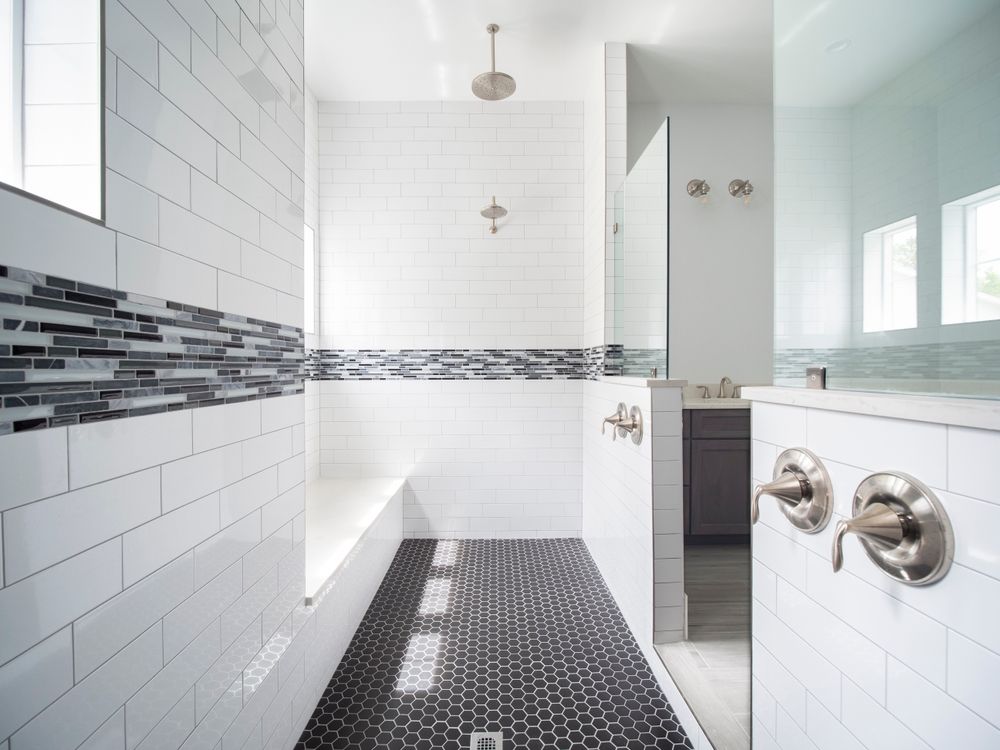
Layout planning determines where cut tiles land, and that decision is made before any thinset is mixed. Cuts placed at the most visible entry point of a shower—the front edge of the floor or the center of the back wall—are the mark of work done without planning. A properly laid-out installation places full or near-full tiles at the focal points and moves cuts to corners, behind fixtures, and at the ceiling line where they are least visible. Thinset and grout selection are matched to the specific tile: large-format porcelain requires a different thinset coverage rate than a standard ceramic, and unsanded grout is used on joints under one-eighth of an inch to avoid scratching the tile face.
Once the tile is set and grout has cured, the observable differences are specific: the grout color is consistent across the installation because it was mixed to the same ratio throughout, no lippage exists between adjacent tiles because the substrate was flattened before setting began, and the grout is sealed so it does not absorb moisture and discolor within the first season of use. Those are the quality indicators worth checking before a tile job is considered finished.
Before agreeing to a tile installation quote, confirm whether waterproofing membrane is included in shower work and which grout type—sanded, unsanded, or epoxy—is specified for the application. These are frequently left out of low-bid proposals, then added as change orders after demolition is complete.
Common Questions About This Service
These questions address how tile installation is actually executed, including the substrate and waterproofing decisions that determine whether a tile job in a Raleigh home holds up over time or develops cracks, hollow spots, and grout failure.
How is the substrate prepared before tile is set on a shower floor?
The shower pan is checked for slope toward the drain, the surface is flattened to within the deflection tolerance for the selected tile size, and a waterproofing membrane is applied to the pan and lower walls before any thinset is used—this sequence cannot be reversed without creating a moisture path behind the finished surface.
What causes grout to crack or discolor within the first year after installation?
Grout cracking typically traces back to substrate movement or tiles set over a floor with too much flex; discoloration is most often caused by grouting over insufficiently cured thinset or skipping the sealing step after the grout cures.
How does tile size affect the preparation requirements for a floor installation?
Large-format tiles, generally anything over twelve inches on a side, require a flatter substrate than smaller tiles because the longer span across a tile amplifies any deviation in the floor plane, causing lippage at the joints and stress cracks at the corners.
Why does layout planning happen before thinset is applied rather than during installation?
Once thinset is on the wall or floor, adjusting tile positions to avoid a narrow cut at a visible edge requires removing already-set tiles; planning the layout on the dry substrate allows the installer to shift the starting point by a few inches and avoid that problem entirely.
What should be checked once grout has cured to confirm the tile work is finished correctly?
Tap across the tiled surface with a knuckle or a small mallet and listen for hollow sounds, which indicate voids in the thinset bed beneath individual tiles; check that grout joints are consistent in width and that the sealer has been applied evenly without pooling in the joints.
99 Service Solutions also installs tile in Durham, Chapel Hill, Cary, Wake Forest, and Garner. To confirm what substrate preparation your project requires before scheduling installation, contact 99 Service Solutions at (919) 395-2113 to arrange an on-site assessment.